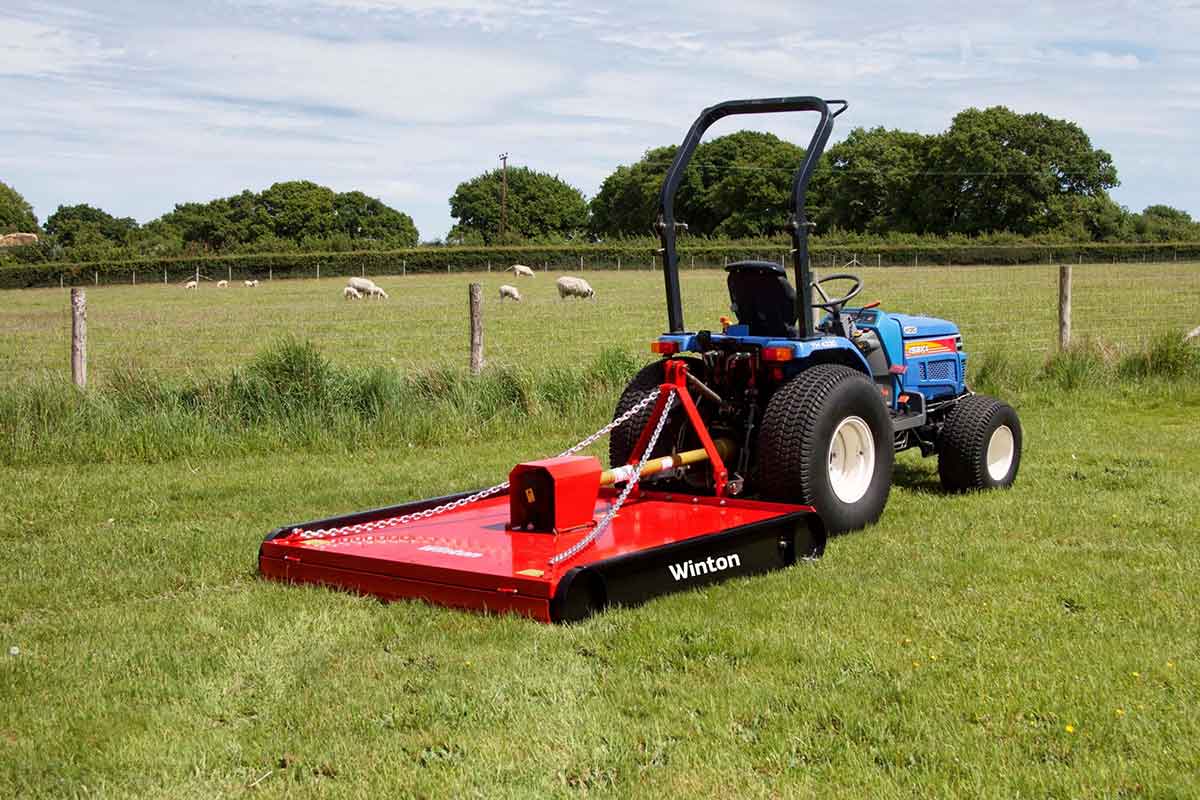
The Winton Topper Mower powers through rough scrub and brush to reclaim land for paddocks or produce farming. To keep this machine rough and ready, it needs to be properly maintained and adjusted. Please ensure that any work is completed with the tractor and machine stationary, and the keys out of the ignition.
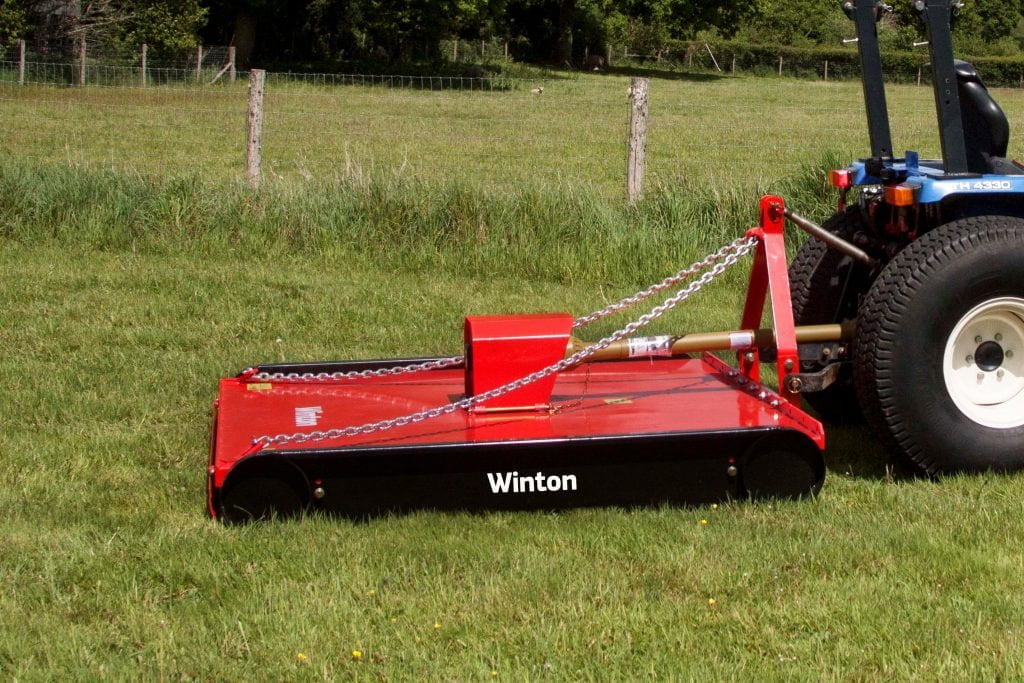
Attaching the Machine
- On a flat area of ground lower the 3-point linkage on your tractor to its lowest position and attach the mower to the tractor using the three point linkage pins and linch pins.
- With the skids on the mower on the ground, adjust the length of the top link arm so that the skids at the side of the flail mower are parallel with the ground.
- Check the blade height underneath the machine to give an idea of the cutting height. Check clearance between the bottom of the blades and the ground, this should be at least 50mm. Cut height should be raised for rough/lumpy paddocks or cutting long grass. This can be through raising the hydraulic lift arms on the tractor or adjusting the skids on the machine to increase the blade clearance.
- Check PTO shaft’s grease points and apply grease if needed. Then attach the PTO drive shaft and ensure locking pin is secure on both the tractor and mower sides.
- Attach the chain to a secure point on the tractor/implement. Operate the mower the with tractor in low range gear and the PTO delivering 540 RPM.
Cutting Height Adjustment
Getting the cutting height right is the key to getting the best from your mower. The cut height can be set by simply adjusting the mower deck height with the skids or raising the mower on the linkage. Cutting height should be adjusted for the land and also the length of grass or density of weeds. The mower should be raised higher from the ground for long/overgrown grass, weeds or small shrubs.
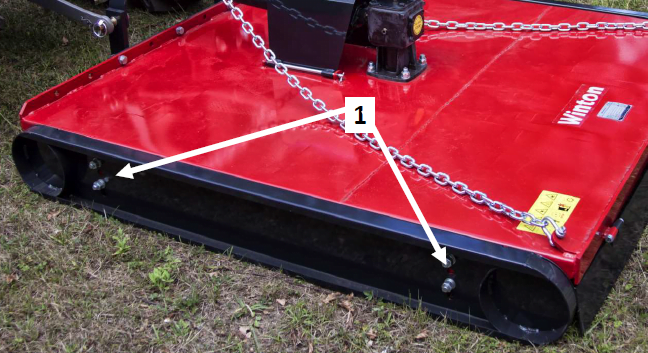
- Loosen bolts and nuts (1) on the skids on both sides of the machine.
- Move the skids up or down lining the bolt holes up at the desired height.
- Re-tighten bolts and nuts (1).

Changing Blades
Always replace worn or blunt blades for optimum cutting. Broken or chipped blades should be replaced immediately to ensure the blades do not become loose and the mower deck is balanced. It is always best to replace blades in pairs for best results. Ensure all bolts are tightened before operating. Ensure moving parts are stationery before starting. To gain access to the blades under the deck the mower should be lifted and supported. Use support stands or blocks to hold the mower in place. Check stability of the unit when working underneath or leaving the mower at a raised height.
- Loosen and remove blade bolts and nuts (1).
- Remove the old blades and replace with new ones.
- Replace and tighten blade bolts and nuts (1).
Gearbox Oil Check/Change
Do not mix old and new oils together or mix different types of oil. Always dispose of old oils safely and in the correct manner. Always make sure the machine is on a flat and level surface when checking oil levels. The machine should be left at a standstill to cool down for at least 10 minutes. Ensure the machine is stable before carrying out work and will not upturn. Use an oil pump to remove old oil and any debris when changing oil. Always make sure bolts are tightened correctly. The filler/level plug should be secure but not over tightened.
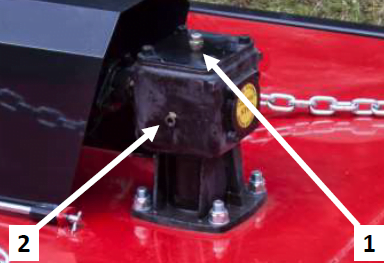
- Remove filler/breather plug (1) on top of the gearbox unit.
- Remove level plug (2) on the side of the gearbox.
- Add oil (80w90 gear oil) through the filler/breather (1) (if required). The oil should reach/begin to weep from level plug (2).
- Replace filler/breather plug (1) and level plug (2).