The Winton Wood Chipper is a fantastic bit of kit which allows you to turn branches which would otherwise go to waste into chips that can be used for mulch or to give a muddy path better grip. To make sure that this machine stays as efficient as possible, it is essential to regularly maintain it. Please ensure that both the tractor and machine are stationary and the keys are out of the ignition before attempting maintenance.
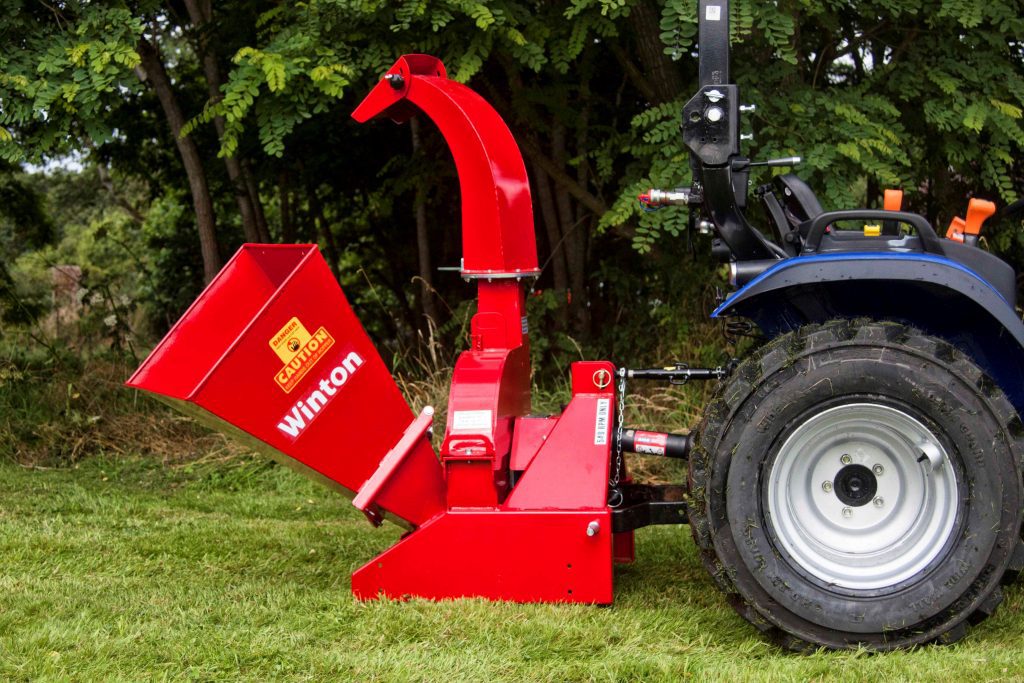
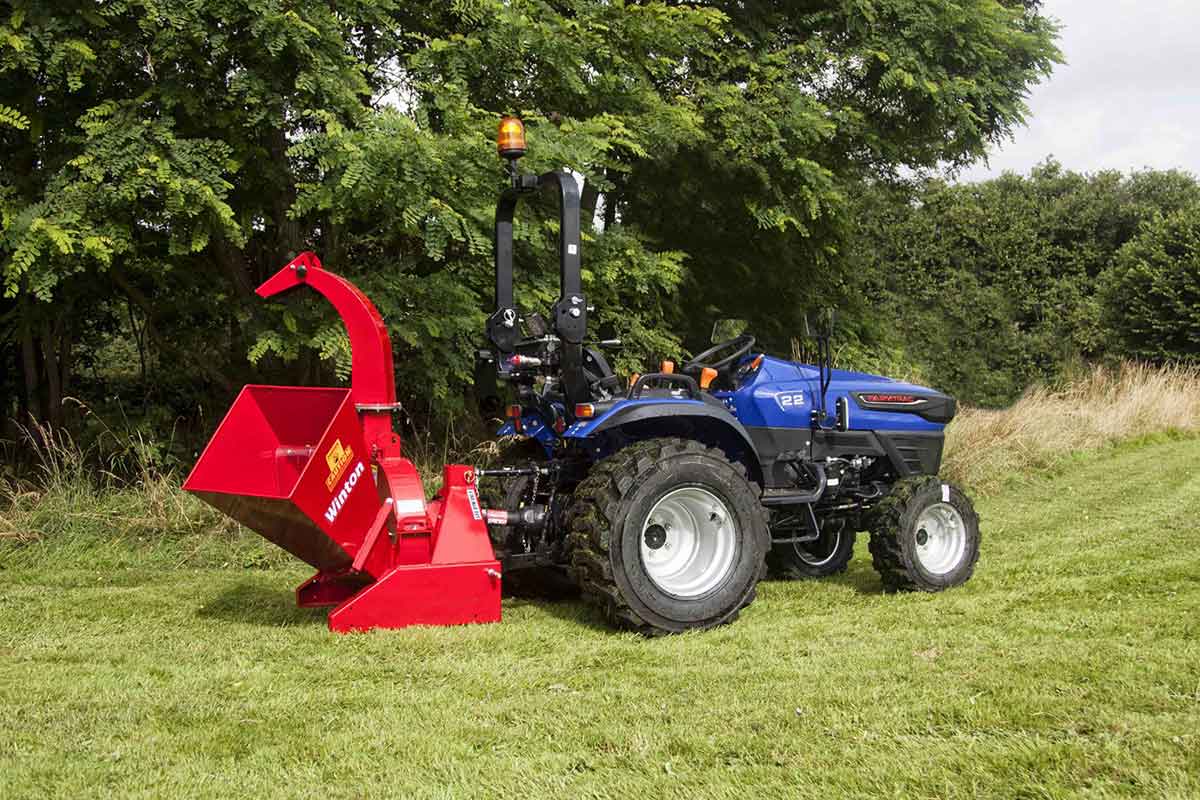
Attaching the Chipper
- Start by finding a flat piece of ground. Lower the 3-point linkage on your tractor to its lowest position and attach the machine to the tractor using the three point linkage pins and linch pins.
- Adjust the length of the top link arm so that the sides of the chipper are parallel with the ground.
- Check your PTO shaft’s grease points and apply grease if needed. Then attach the PTO drive shaft and ensure the locking pin is secure on both the tractor and machine sides.
- Attach the chain to a secure point on the tractor/implement.
- Start the tractor and raise the chipper so that the PTO shaft is within 15 degrees of the horizontal position. Operate the chipper with the PTO delivering 540 RPM.
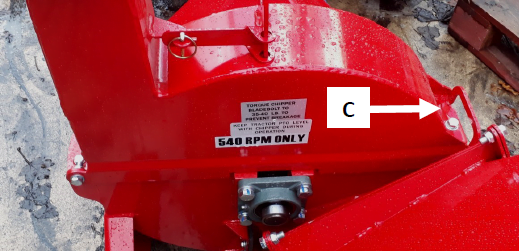
Changing Flywheel Blades
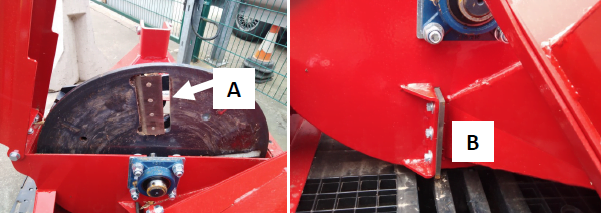
The flywheel is fitted with 4 blades, placed at 90°. If one is changed, the one opposite should also be replaced to remain balanced. The best way to tell if the blades need sharpening is to look at the chippings. If they are long and stringy the blades are likely to need replacing/reversing. Also look out for a seeming lack of power, blocking of the discharge chute, and rough cutting with excessive vibration.
- Unscrew bolt (C) and remove.
- Pivot open the flywheel cover.
- Unbolt the flywheel blade/blades.
- Reverse to use the new cutting edge or replace with a new blade/blades.
- Re-tighten blade bolts.
- Replace the flywheel cover.
- Re-insert bolt (C) and tighten.
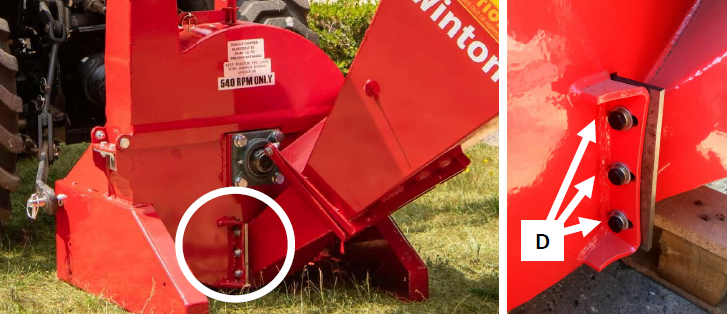
Adjusting/Changing Bed Blade
This is the stationary blade which acts as a stop against the moving blades. Blades will get worn down over time and use which leads to reduced efficiency. The blade should be adjusted to ensure the wood chipper is functioning effectively. Always ensure the bed blade is not touching the flywheel blades when the flywheel rotates. The bed blade should be adjusted regularly as the blades get worn down and always when blades are replaced.
- Loosen bolts (D) and remove if changing the blade.
- Use the bed blade mounting bolts to set the clearance as required. Slide the blade out of the slot and replace or reverse if changing. Move the bed blade within the slots to ensure the blades are not touching.
- Check the PTO shaft is not connected and open the flywheel cover. Spin the flywheel by hand to check the clearance, the ideal clearance is approx. 1mm.
- Tighten bolts (D).