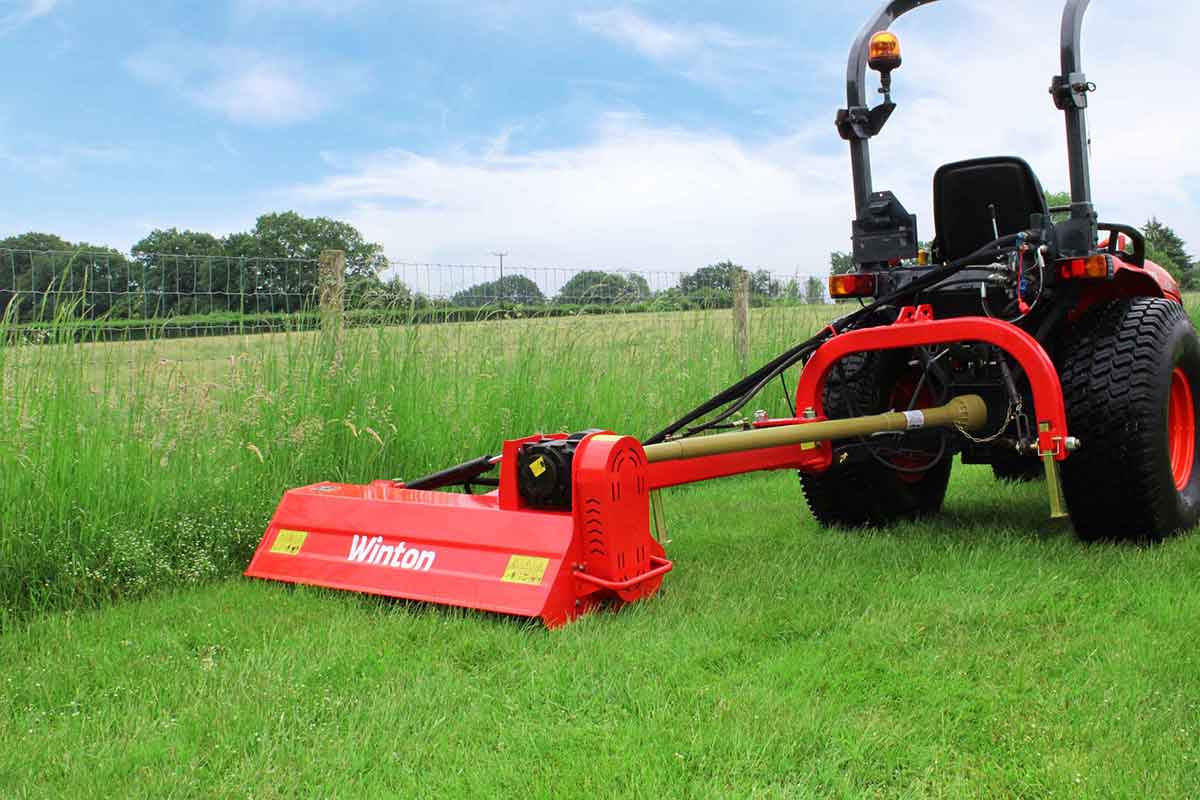
The belts are an essential part of all Winton compact tractor flail mowers because without them set up correctly, there is nothing to turn the blade rotor and keep you mowing. This means that the belts on your machine should be correctly tensioned and in good working order at all times to keep the flail mower functioning properly.
You have the correct belt tension when the belt can be pushed in by about 10mm at the centre point between the pulleys. A rule of thumb across machines is that the belt should be able to twist a quarter turn by hand. More than that, they are too loose and any less, they are too tight. This means you may run the risk of losing drive to the mower or burning the belts out earlier than necessary. Always use a straight edge to make sure the belt pulleys are in line and running true. If misaligned, call your dealer or service engineer for technical support as the belts may jump off the pulleys or wear unevenly.
If you need to replace the belts on your equipment it’s always best to replace the full set all together to keep your flail mower working efficiently. Having one new belt working with any old belts may cause slipping, uneven wear or even cause the belts to break prematurely.
WFL and WHF
These two heavy duty flail mowers have the same basic configuration of belts, although the WHF200 and WHF220 models have four belts rather than three. This means that they have the same instructions for changing and tensioning the belts.
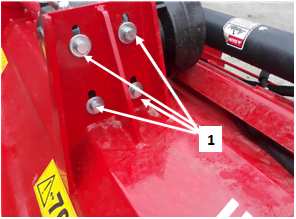
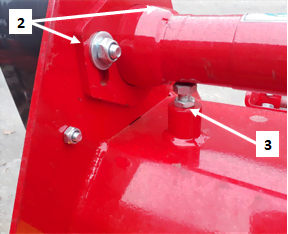
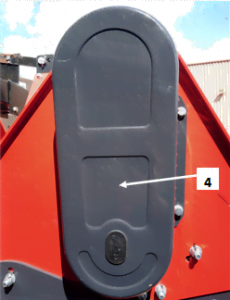
To change or tension the belts, first remove the belt cover (4). Then loosen the four bolts (1) securing the gear box to the mounting plate, and loosen the bolts (2) on the back of the belt guard housing, holding the support shaft. Loosen off the counter locking nut (3), and adjust belt tension by adjusting the height of counter nut (3). If the belts need replacing, remove them and put on a new set. Finally, align the gearbox ensuring the drive shaft is parallel with the body and re-tighten nut (2), then re-tighten all bolts (1) and replace the belt cover.
WVF
The Winton hydraulically offset verge flail mower is maintained in a similar way to above.

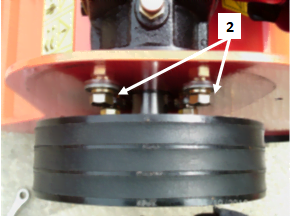

Remove the belt cover, and loosen the four bolts (1) securing the gearbox to its mounting plate. Afterwards, loosen the bolts (2) behind the belt cover holding the support shaft as well as the counter locking nuts (3). Adjust the belt tension by changing the height of the two counter nuts (3), and replace with new belts if they are worn or damaged. Align the gearbox ensuring the drive shaft is parallel with the body and re-tighten the nuts, all the bolts, then replace the belt cover.
WCF
As with the other mowers, the Winton compact flail mower’s belts are changed and tensioned in a similar way.
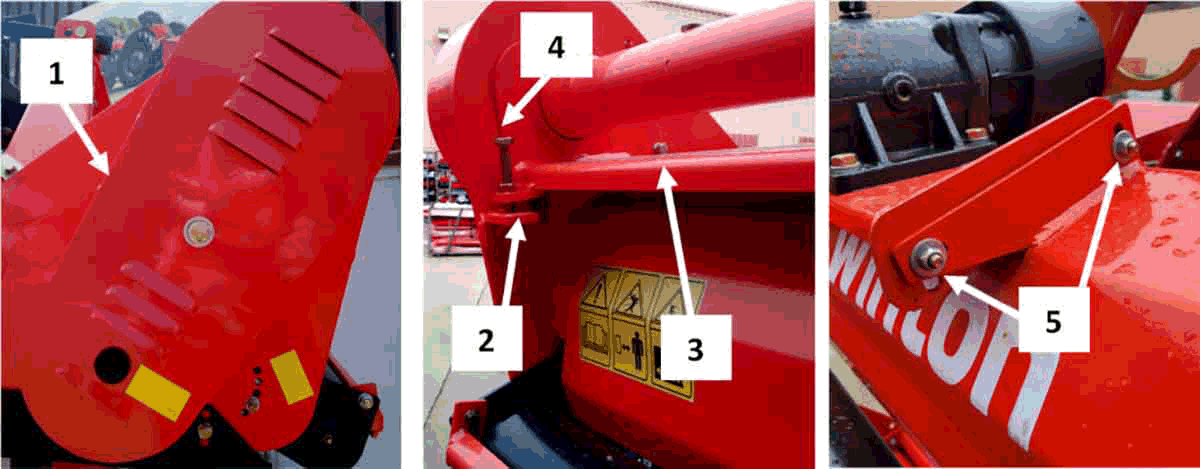
Start by removing the belt cover (1). Loosen the bolts (2 & 3) that lock the support shaft, the counter nut (4), and the bolts (5) securing the gear box to the mounting plate. Then adjust the belt tension by changing the height of counter nut (4), replacing with new belts if needed. Align the gearbox, ensuring the drive shaft is parallel with the body, then re-tighten the nuts (5), and the bolts (2 & 3). To finish off, replace the belt cover (1).
The belts are a crucial part of your Winton flail mower, so it is important to keep them well-maintained and replace them when necessary. We sometimes find that customers burn through belts when tensions haven’t been checked and the machine maintained regularly. It’s cost effective to keep a regular eye on your belts in the long run.
This guide can help you to save some time and money by allowing you to do this relatively simple servicing yourself, rather than calling a technician.