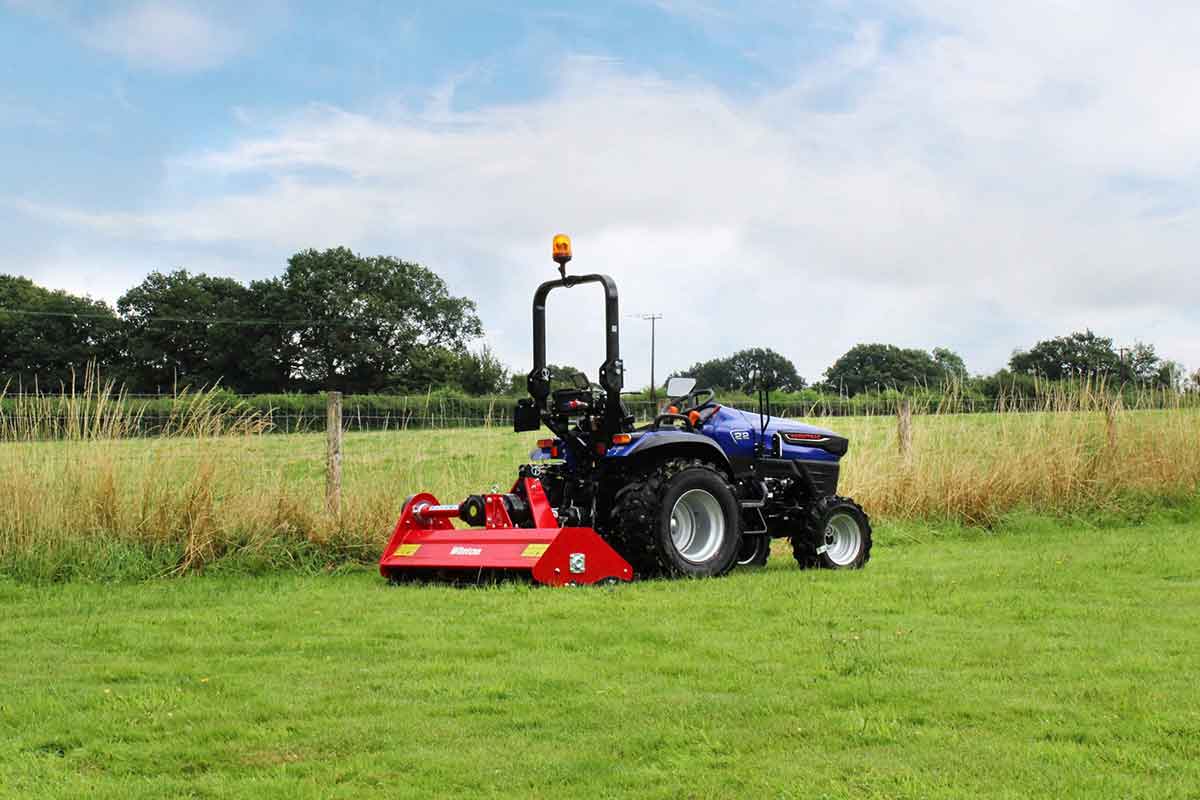
The Winton Flail Mower is a great all-rounder mower, as it has the power to cut through brambles, but also the ability to give lawns a fine finish. Keeping this machine running efficiently requires regular maintenance. While performing any checks or repairs, the tractor and machine should be stationary, with the keys out of the ignition.
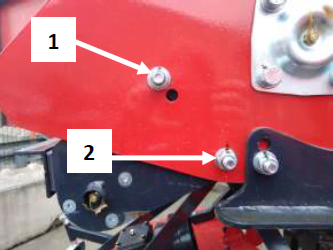
Roller Adjustment
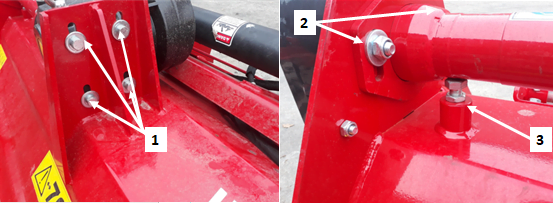
- Remove bolt (1) on both sides of the machine.
- Adjust roller by aligning the selected hole in the roller support bracket at position (1) (using the hole closest to the ground gives the highest working height).
- Put bolt (1) into the selected hole and re-tighten bolt (1).
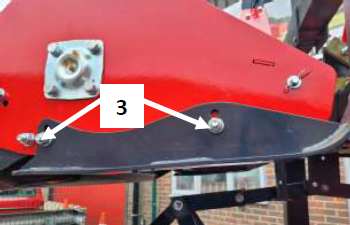
Skid Adjustment
- Remove bolts and nuts (3) on the front & back of both sides of the machine.
- Move the skids up or down to the desired bolt hole height.
- Re-insert bolts and nuts (3).
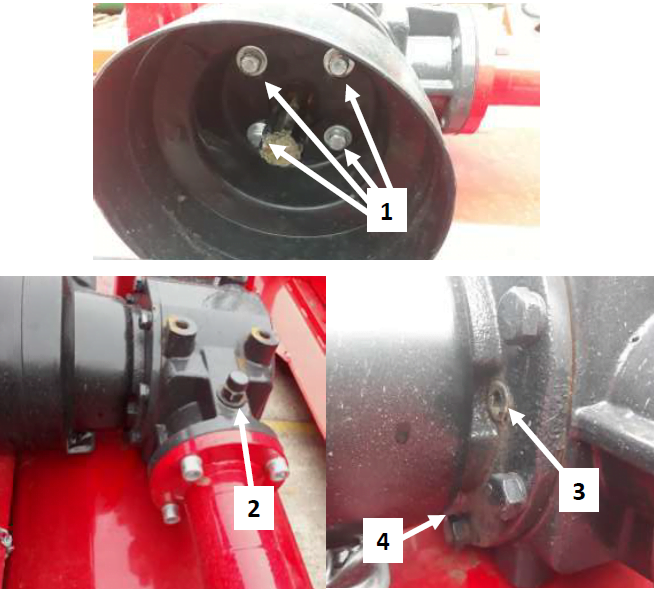
Oil Change/Gearbox Check
- Remove the PTO guard on the gearbox for best access, do so by removing bolts (1).
- Remove filler/breather plug (2) and level plug (3).
- Add oil (80w90 gear oil GL5 grade) through the filler/breather plug hole (2) until it reaches/begins to weep from the level plug hole (3).
- Re-install both plugs (2 & 3) and reattach the PTO guard.
The plug (4) underneath the gearbox PTO guard can be used when draining oil or alternatively use an oil pump. Always make sure bolts are tightened correctly. The filler/level plug should be secure but not over-tightened.
Adjusting Belt Tension
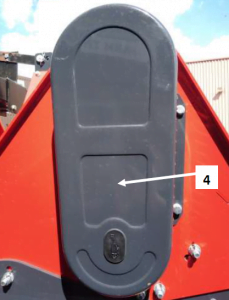
The correct belt tension is achieved when the belt can be deflected by the belt thickness about 10mm at the centre point between the pulleys. Tension should be checked regularly. As a general rule across machines, the belt should be able to twist a quarter turn by hand. Any more means they are too loose and any less they too tight. In this situation, you may run the risk of losing drive to the mower or burning the belts out prematurely. To check and adjust the tension:
- Remove the belt cover (4).
- Loosen the four bolts (1) securing the gear box to the mounting plate.
- Loosen bolts (2) on the back of the belt guard housing, holding the support shaft.
- Loosen off the counter locking nut (3).
- Adjust belt tension by adjusting the height of counter nut (3).
- Align the gearbox ensuring the drive shaft is parallel with the body and re-tighten nut (2).
- Re-tighten all bolts (1).
- Replace the belt cover.
Ensure that the locking nuts are tightened to prevent the bolts working loose. Always use a straight edge to make sure the belt pulleys are in line and running true. If misaligned, call your dealer or service engineer for technical support.