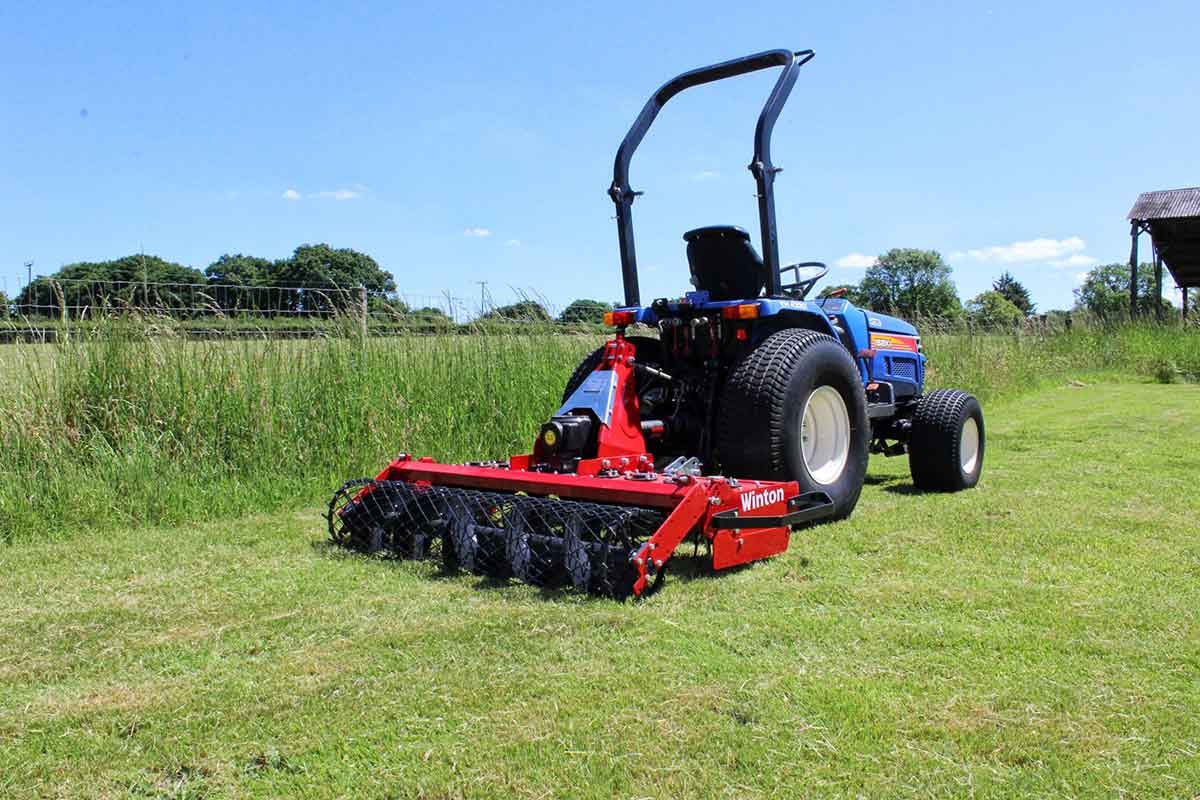
The Winton Power Harrow can churn soil ready for cultivation quickly and efficiently. In order to keep it rolling without a hitch, the machine needs to be well-maintained. Before performing any maintenance, make sure the tractor and machine are stationary and the key is out of the ignition.
Attaching the Machine
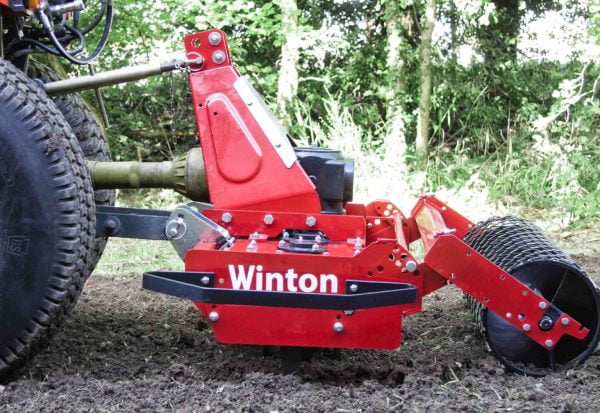
- Start by finding a flat piece of ground. Lower the 3-point linkage on your tractor to its lowest position and attach the machine to the tractor using the three point linkage pins and linch pins.
- Attach the top linkage arm to the top link point on the machine and tractor. Extend the linkage arm to ensure the machine sits level and the A-frame is vertical.
- Check your PTO shaft’s grease points and apply grease if needed. Then attach the PTO drive shaft and ensure the locking pin is secure on both the tractor and mower sides. Attach the chain to a secure point on the tractor/implement.
The working speed of the machine should always be at a slow walking pace (approx. 1 to 3 mph) depending on the working conditions. Always remove large stone/obstacles from the soil before operating. Areas with denser stones and soils should be worked at a much slower pace. Operate the machine with tractor in low range gear and the PTO delivering 540 RPM.
Changing Blades
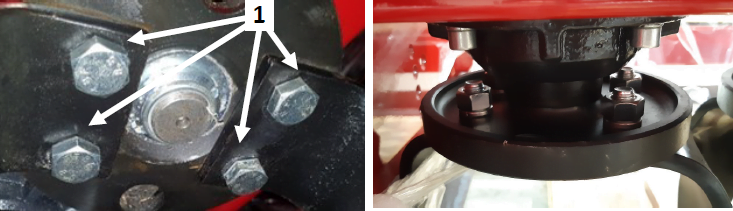
Each blade carrier has the same directional blade, so either two left blades or two right blades dependent on whether the carrier spins clockwise or anti-clockwise underneath the machine. The blades must always be replaced if they are damaged, bent, worn or blunt. Take care to ensure that the new blades are mounted in the same position to ensure the sharp side of the blades point in the same direction as the old blade. Sufficiently lift the machine so that the blades and rotor can be accessed easily.
- Remove the fastening bolts & nuts (1) (there are 2 bolts per blade).
- Remove the old blade and replace with new blades.
- Replace the fastening bolts and nuts (1).
- Check tightness of the bolts.
Roller Adjustment
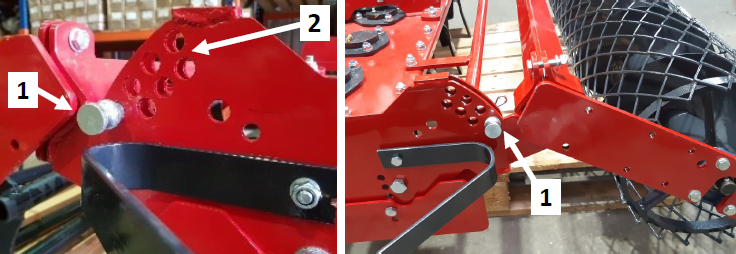
The working depth can be adjusted through the rear roller on the unit. This should be adjusted to suit working ground conditions. For denser or more compacted areas of soil the tiller should be set higher for a reduced working depth. The harrow can be used in two or more passes increasing the working depth if required.
- Remove pin and R clip (1) on both sides of the roller bracket.
- Move the roller into position and the align bracket with the corresponding hole (2).
- Replace pin and R clip (1) on both sides.
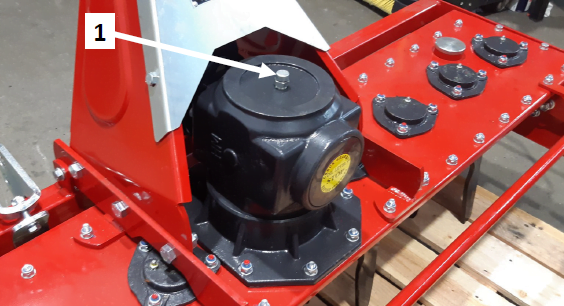
Oil in Gearbox
Do not mix old and new oils together or mix different types of oil. Always dispose of old oils safely and in the correct manner. Always make sure the machine is on a flat and level surface when checking oil levels. The machine should be left at a standstill to cool down for at least 10 minutes. Ensure the machine is stable before carrying out work and will not upturn. Make sure all fluids are level before using the machine.
- Unscrew and remove filler plug/breather (1).
- Use a dipstick or similar to check the oil level and ideally this should be half full.
- Top up oil (80w90 grade oil) using the filler plug on the top of the unit.
- Replace filler plug/breather (1).
Use an oil pump to remove old oil and any debris when changing oil.
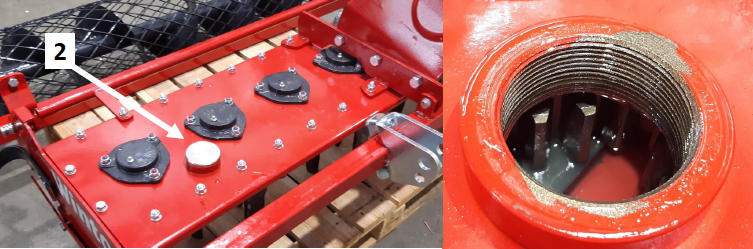
Oil in Gear Reservoir
The lubricant in the gear reservoir ensures each of the gears driving the blades work smoothly. Always ensure the level is checked prior to use and routinely (every 4 hours use). As the reservoir spans the length of the machine if machine is not level you will be unable to identify the correct amount of lubricant in the reservoir.
- Unscrew and remove the filler cap (1).
- Use a dipstick or by eye check the level.
- Top up oil (EP0 semi-fluid grease) as required.
- Replace and screw in the filler cap (1).